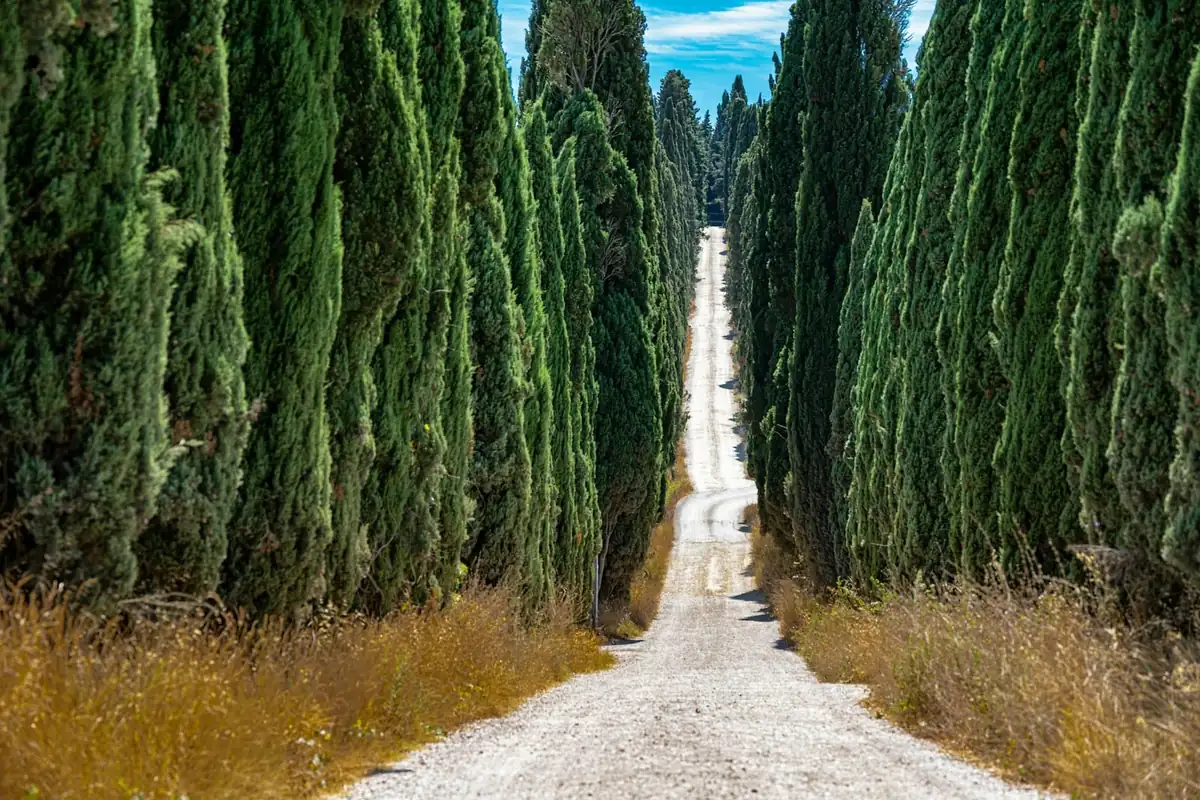
GPS Routes and Navigation on a Self-Guided Gravel Tour
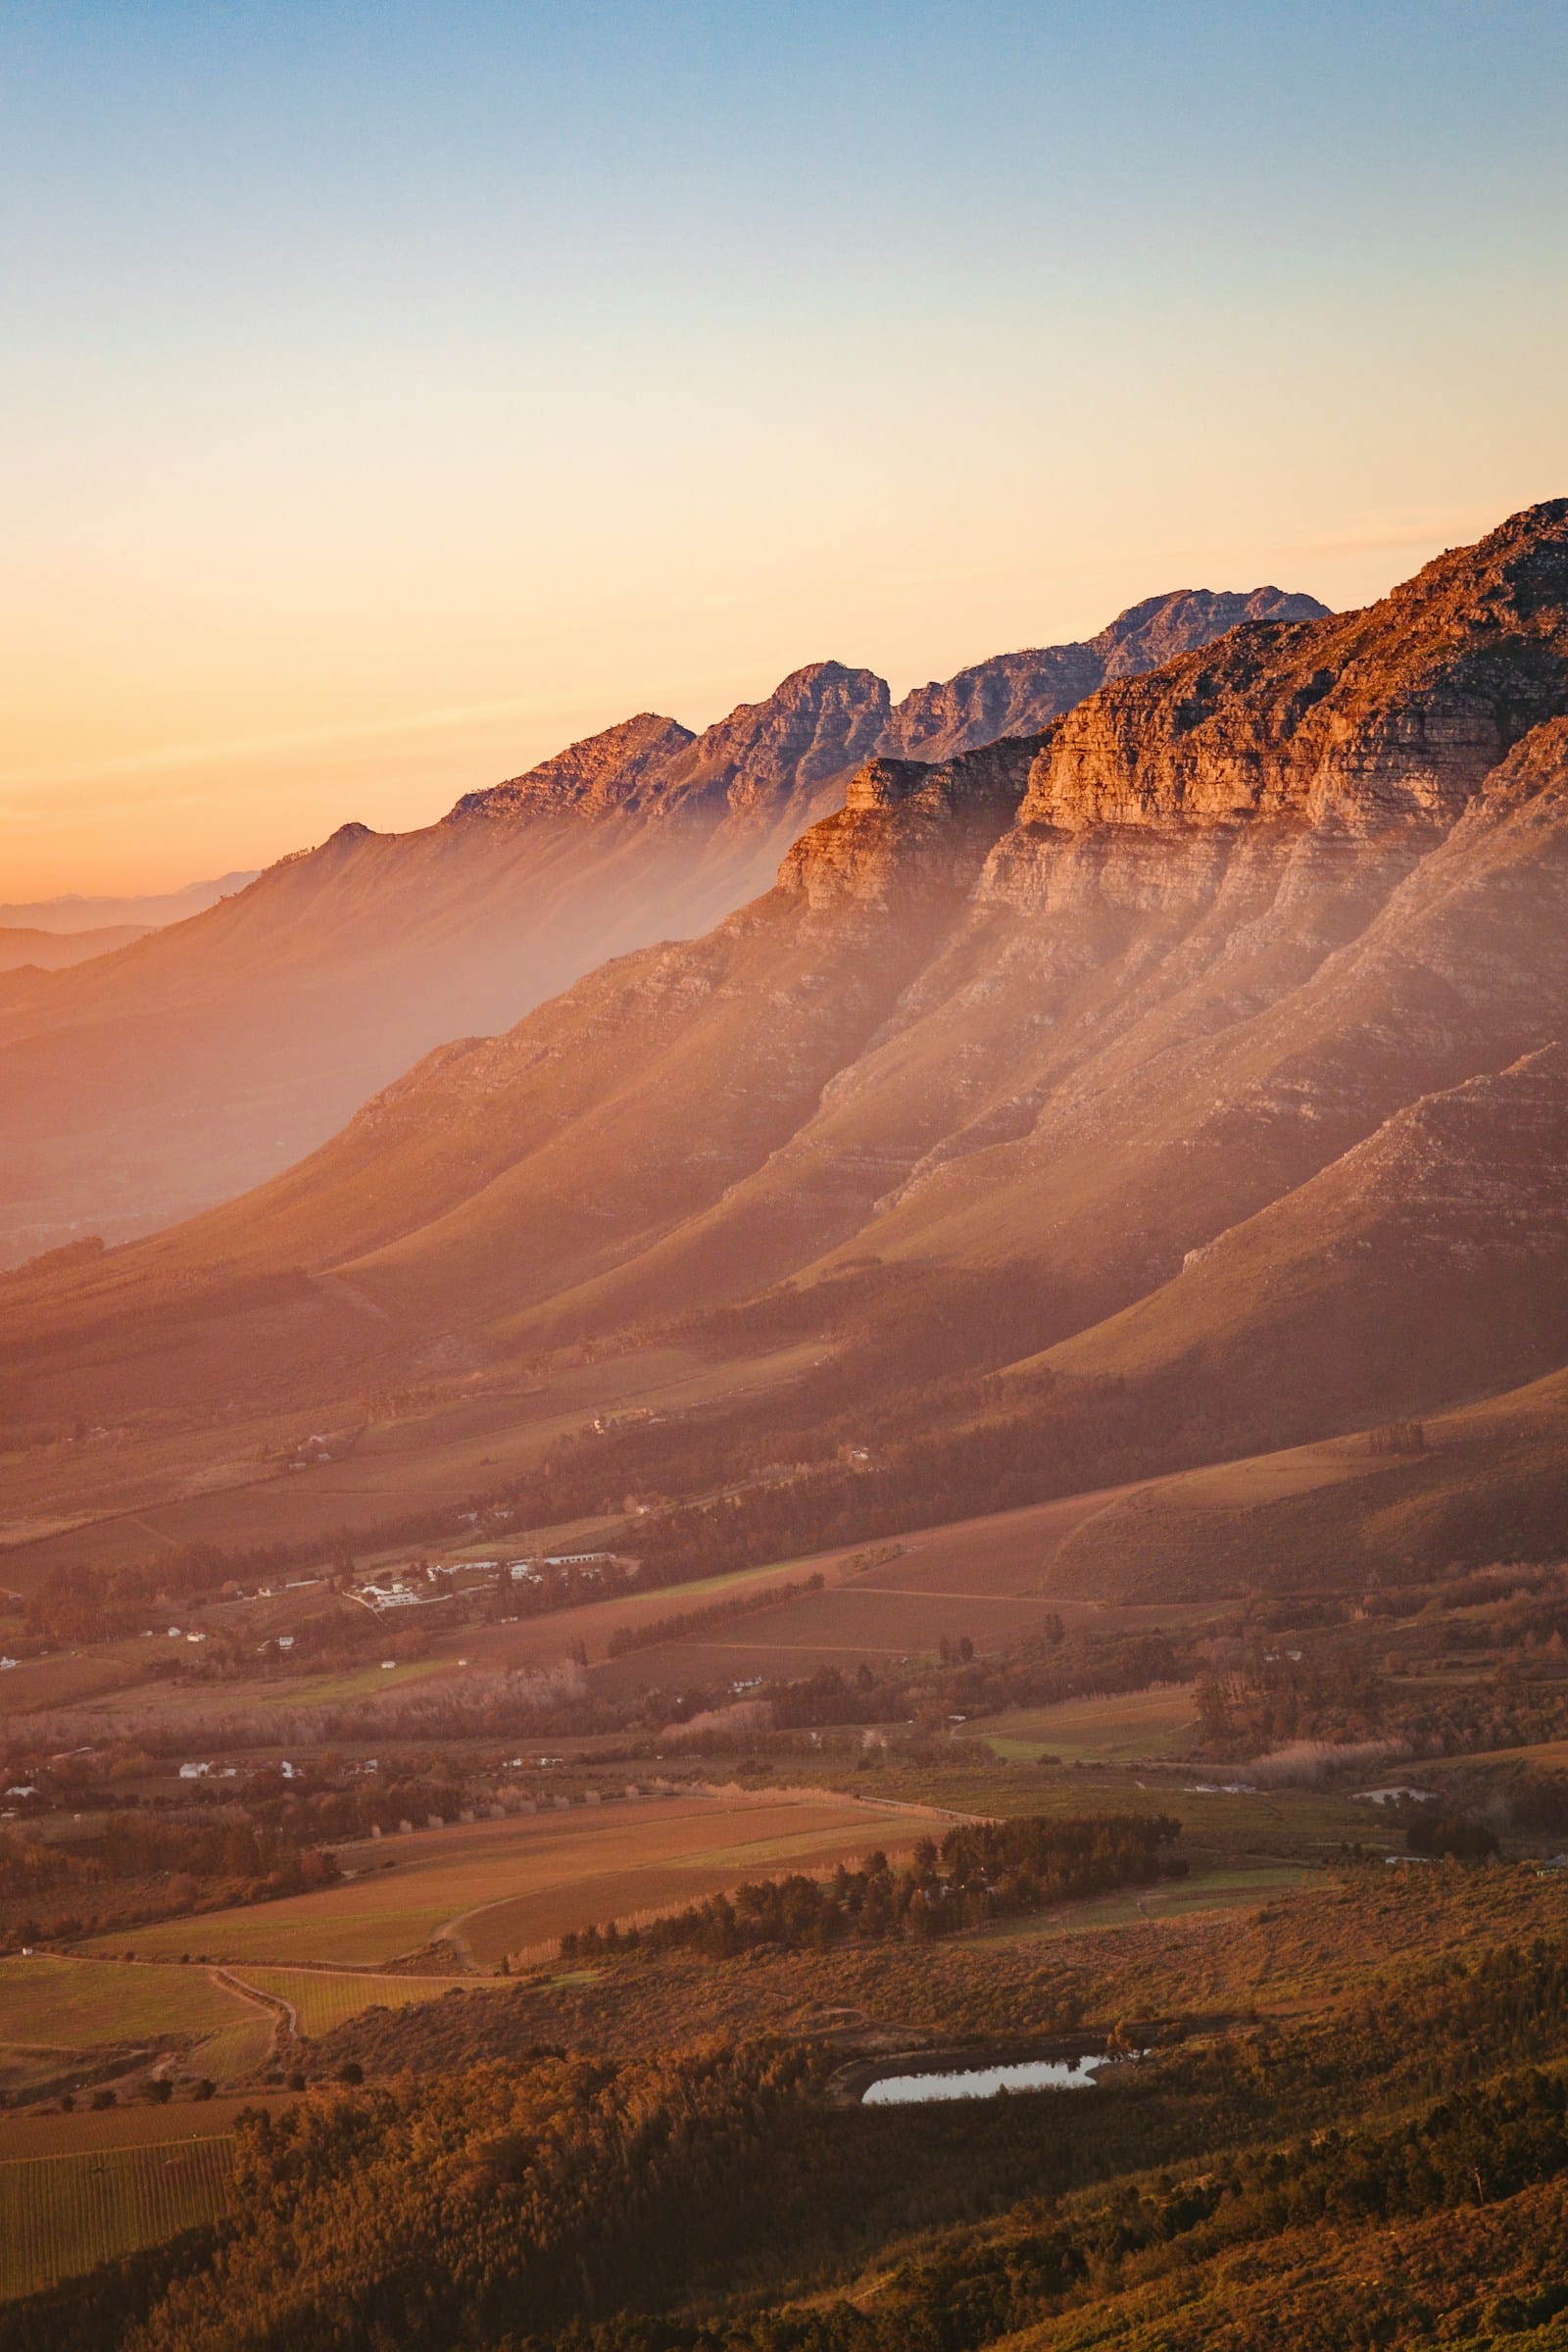
The track out of Prince Albert climbs into the Swartberg before the heat does, and on a self-guided morning you have it entirely to yourself. There is no group to wait for, no guide’s wheel to follow — just the day’s route loaded onto the Wahoo on your stem, a magenta line drawn up the pass, and a turn prompt that will chirp politely a few hundred metres before each junction. You set off when your coffee is finished, not when anyone else is ready. The road switchbacks up through the rock, the valley falls away behind, and the only navigation you do for the next hour is glance down occasionally to confirm what you already suspect: you are exactly where the line says you should be. This is what riding a route self-guided actually feels like — not lost, not alone, just gloriously on your own clock with the whole day mapped out in front of you.
That is the practical reality this guide is about. Not the choice between guided and self-guided — we cover that honestly elsewhere — but the nuts and bolts of how a self-guided gravel cycling holiday actually works once you have decided to ride one. What files you get and what they load onto. How to put a route on a Garmin, a Wahoo or into Komoot. What offline maps are and why they matter in country with no signal. What genuinely happens when you miss a turn on an empty moor. How navigation behaves in the most remote terrain we ride — the Highlands, the Pyrenees, the high passes of the Western Cape — and, crucially, how the support van and the hotels still have your back the whole time. It is written for a rider who can already read a GPS at home and wants to know precisely what the week asks of them before committing to it.
The short version: what self-guided actually means
Self-guided means you get the full GPS route for the tour — the GPX files for Garmin, Wahoo or Komoot — loaded before you travel, and you ride each day’s stage at your own pace, not attached to a group. You navigate yourself from your own bike computer, which follows the route from satellite GPS and stored maps, so it works with no mobile signal at all. Everything around the riding stays the same as a guided tour: the same scouted and tested routes, the same hand-picked hotels booked and waiting, the same daily luggage transfer in the support van, and the same van meeting riders most days at lunch. You carry the navigation and the pace; we carry the logistics and the backup.
If you ride with a route on your handlebars at home — a club loop you plotted, a sportive course someone sent you, a Komoot adventure you fancied — then you already have every skill this needs. The rest of this guide is detail, reassurance and the few specifics that make a week away on unfamiliar gravel run smoothly.
What you actually get: the route files
When you book a tour self-guided, the thing you receive is the route — the real, scouted line, not a rough suggestion. We send it well before departure, in the formats that cover every modern device:
- A GPX file for each day’s stage. GPX is the universal route format. It is the lingua franca that every bike computer, every navigation app and every mapping website can read. One file per riding day, named by stage, so the week is a tidy set of files you load once.
- A Komoot collection. For riders who live in Komoot, we share the route as a collection you can sync straight to your account, with each day as its own tour. Accept the share and the whole week sits in your app, ready to sync to a Garmin or Wahoo or to follow on the phone.
- A short written guide. A plain-language note on loading the files onto the common devices, plus the practical notes for the specific tour — where the long days are, where water is scarce, where a junction needs a second look.
That is the deliverable: the gravel cycling route download for your week, in the format your kit speaks. Crucially, this is the same route our guided groups ride. We do not hand self-guided riders a watered-down or simplified line; you get the exact stages the team scouted and tested, the good gravel and the considered detours and all. The only difference is that on a guided tour the guide holds the route and leads, and on a self-guided tour the route is yours to follow.
A word on why GPX matters so much: because it is universal, you are never locked to one brand or app. The same file that loads onto a Garmin Edge loads onto a Wahoo Elemnt, into Komoot, into Ride with GPS, into Strava routes, onto a Garmin watch. If you change devices the year after, the route still works. If your head unit dies mid-tour, the GPX opens on your phone. Open formats age well, and a route you can read on anything is a route you can rely on.
The devices: Garmin, Wahoo, Komoot and the phone
You do not need anything exotic to ride self-guided. Any of the following handles our routes comfortably:
- A Garmin Edge (the cycling computer range — Edge 530, 540, 830, 840, 1030, 1040 and their kin). These are the workhorses of route-following: clear maps, reliable turn prompts, long battery life, and off-course warnings built in. If you ride with a Garmin already, you are set.
- A Wahoo (Elemnt Bolt, Elemnt Roam). Wahoo built its reputation on simple, legible navigation — a clean line, clear prompts, and a phone app that makes loading routes genuinely easy. The Roam in particular has good on-device maps and re-routing.
- Komoot on a head unit or phone. Komoot syncs to most Garmins and Wahoos, and will also navigate from a phone on the bars in a mount if that is how you prefer to ride. Plenty of riders use Komoot as the planning and storage layer and a Garmin or Wahoo as the actual screen.
- A phone as backup, always. Whatever your main device, keep the route on your phone too — in Komoot, Ride with GPS or even just the GPX saved to files. It is your belt-and-braces if a head unit plays up, and it costs nothing to set up.
What you want from whichever you choose is straightforward: it can follow a loaded route, it shows turn prompts or at least a clear line, it gives an off-course warning when you stray, and it holds offline maps so it works without signal. Every device above does all four. The one thing we would gently steer you away from is relying solely on a phone with no offline maps downloaded and no backup battery — phones are fine as a backup but a dedicated bike computer with all-day battery is the calmer way to navigate a long day in remote country.
A note on battery, because it is the practical limiter on a long day. A modern Garmin or Wahoo will comfortably run a full gravel stage with navigation on — often two — but on the biggest days, in cold that drains batteries, or with the screen and backlight working hard, it pays to start each morning fully charged and to carry a small power bank and a short cable in the day bag. Charge at the hotel each night; it becomes part of the evening routine alongside refilling bottles and laying out kit.
How to load a route: the actual steps
This is the part riders new to self-guided ask about most, so here it is plainly. None of it is hard, and you do it once, calmly, at home — not in a hotel car park on the first morning.
On a Garmin Edge, you have two easy paths. The cleanest is to import each GPX into Garmin Connect (the phone or desktop app) as a course, then sync it to the head unit — the routes appear under Navigation, ready to ride, with turn prompts generated. The other, even simpler if you have a cable, is to plug the Edge into a computer, open it as a USB drive, and drop the GPX files straight into the NewFiles (or Courses) folder; on the next power-up the Edge imports them. Either way, ten minutes covers the week.
On a Wahoo, everything happens in the companion app. You either import the GPX files into the app, or — the slickest route — link your Komoot account so the shared collection flows straight through. The routes then sync to the Elemnt automatically over Bluetooth, and each day is there on the device under Routes. Wahoo deliberately made this simple; it is genuinely a couple of taps per day.
On Komoot, accept the shared collection and the days land in your account. From there you can follow them in the app on a phone, or sync them to a connected Garmin or Wahoo. If Komoot is your home, this is the least friction of all.
Then — and this is the step that saves the most grief — test one stage at home before you fly. Load a single day onto the device, ride a short loop near you, and confirm three things: the route follows, the turn prompts fire where you expect, and the screen shows what you want it to show (we like the map page with the line, distance to next turn, and elevation). Fifteen minutes of testing at home turns the first morning of the tour from a question mark into a non-event. If anything will not load, that is the moment to sort it, with us on the phone if you need us, rather than the morning the riding starts.
Offline maps: the thing that matters most in remote country
Here is the single most important practical point in this whole guide, and the one most often misunderstood: you do not need mobile phone signal to navigate, and you should plan as though you will have none.
A bike GPS computer does not follow a route using your phone’s mobile data. It follows the route using its own GPS satellite fix — the same satellite system whether you are in a city or on an empty mountain — combined with maps stored on the device. As long as the map for the area is on the device and the route is loaded, the unit will navigate flawlessly across the emptiest terrain with zero bars of signal. This is exactly why a dedicated bike computer is the calm choice for remote riding: it simply does not care that there is no network.
The one job you have is to make sure the offline map for the region is downloaded onto the device before you ride. This is the basemap — the roads, tracks and contours your route line sits on top of. Without it, you would see your magenta line floating on a blank screen; with it, you see the line on a proper map and can make sense of junctions, alternatives and where you are. Every device handles this over wi-fi:
- Garmin Edge: download the regional map for the country or area (Garmin Connect or the device’s map manager). Most newer Edge units ship with maps for whole continents already on board.
- Wahoo: the Elemnt downloads map regions over wi-fi from the app — grab the relevant country or area.
- Komoot: buy or download the offline region/maps for the area so the app works without data.
Do this the night before, on the hotel wi-fi, and the day takes care of itself. We flag in the written guide which regions you need for each tour. On routes that cross borders — the Pyrenees runs France and Spain, the Alps can touch four countries in a week — download both or all the relevant regions so you are never riding off the edge of your downloaded map.
One more belt-and-braces habit: keep the route on your phone too, with offline maps downloaded in Komoot or Ride with GPS. If your head unit ever fails, you can navigate from the phone. You almost certainly never will — but knowing the backup is there is part of what lets you relax into a remote day.
What happens when you miss a turn
Every honest self-guided rider misses a junction now and then. It is not a failure and it is certainly not a disaster — it is a normal, minor event that the whole system is built to absorb. Here is what actually happens.
You miss the turn — maybe you were watching the view, maybe two tracks forked and you read it wrong. Within a few hundred metres your device notices: it gives an off-course beep and shows an off-course warning, because it knows where the route is and where you are, and the two have parted company. You stop. You look at the line on the screen relative to your blue dot. Nine times out of ten it is obvious — you went left where the line went right — and you simply turn around, ride back the short distance to where you left the route, and carry on. A minor detour, a few minutes, a shrug.
That is the whole drama, most of the time, because three things are working in your favour:
- The route is a good one. It has been scouted and ridden by our team before it ever went on sale, so it is logical and well chosen — it does not send you down dead ends or ambiguous goat tracks for no reason. A sensible route is far easier to follow and far easier to rejoin.
- The destination is fixed. Whatever happens during the day, the hotel that night is booked and waiting, and your luggage is already travelling there in the van. You are never navigating towards an uncertain end; you are navigating towards a known bed.
- There is a backup behind the backup. The route is on your phone as well as your head unit. The support van is on the road and reachable by phone. If a junction genuinely defeats you, or a device fails, or you simply want to bail on a long afternoon, you are not stranded — you make a call and we come.
The mindset that serves self-guided riders best is this: treat the GPS as the primary navigator but stay gently switched on. Glance at the line before a junction rather than only reacting to the beep after it. If a turn looks wrong, stop and check rather than press on hoping — a hundred metres back is cheap, a wrong valley is not. Experienced riders develop this rhythm quickly, and it turns navigation from a worry into a quiet, satisfying competence.
Navigating the remote routes: Highlands, Pyrenees and the high passes
For most of a tour, navigation is low-stakes — populated valleys, well-signed forests, the next village twenty minutes away. But we run some genuinely remote routes, and it is worth being honest about where self-guided navigation asks more of you, because that is exactly where good preparation pays off.
The Scottish Highlands are the clearest case. On the open moor, two estate tracks can fork identically in every direction, there are stretches where you will not see a soul for ninety minutes, and a low cloud can roll in within the hour. None of that is beyond a confident rider, but it means the navigation is a real part of the day rather than an afterthought. Self-guided in the Highlands rewards the rider who has downloaded the offline map properly, who checks the line at the ambiguous forks rather than trusting momentum, and who is comfortable pausing to think. If that sounds like a satisfying challenge, you will love it; if it sounds like a worry, this is precisely the route where many capable riders choose guided instead, and there is no shame in that. We dig into the Scottish riding in detail in our Highland coast-to-coast guide.
The Pyrenees bring a different flavour: long, committing days, big climbs, and a route that crosses the France–Spain border more than once over its traverse from San Sebastián to Roses. The navigation itself is not especially tricky — the line is clear — but the remoteness and the length mean you want both countries’ offline maps downloaded, a fully charged device and a power bank, and a sensible eye on where the next resupply is. It is the kind of route where the self-guided rider plans the day’s shape over breakfast — the climbs, the long empty stretch, the point of no easy return — rather than just clipping in and reacting.
The high passes — the Alps, the Western Cape’s mountain roads like the Swartberg — are visually dramatic but navigationally often simpler than the moor, because the road is the road and there is frequently only one way over a pass. The challenge there is less about junctions and more about exposure, distance between water and the descents; the GPS holds the line easily, and your attention goes to pacing the climb and managing the day.
The common thread across all of them: in remote terrain, the offline map and a charged device are not optional extras — they are the navigation. Get those right the night before, stay gently attentive at the junctions, and the most remote gravel in Europe and South Africa becomes navigable, on your own, with real confidence. And if you would rather not carry that load at all on the most committing routes, guided exists for exactly that reason — the how it works page lays out both ways of riding.
What stays the same: the support behind a self-guided week
This is the misconception worth killing outright, because it stops some riders choosing self-guided who would love it: self-guided does not mean unsupported. Having the route on your handlebars does not put you out on your own. Everything that makes a Gravel Adventure week a serviced week is identical whether you ride behind a guide or follow a GPX:
- The support van carries your luggage hotel-to-hotel every day. You ride with just a day bag and collect your main bag at the hotel each evening — it is not delivered to the room on either option, but it is there waiting for you.
- The van meets riders most days at lunch. You roll up at your own pace — guided groups arrive together, self-guided riders arrive as they ride — change a layer, top up your bottles, and refill the PurePower energy drink free of charge. Energy bars and chews are available to buy if you want them. Same van, same supplies, whichever way you ride.
- The same hand-picked hotels are booked and waiting, a different one most nights, chosen for character and a good dinner — your room held and your bag in it whether you arrived first or last.
- The support vehicle is on the road with spares, a spare bike, a clothing bag, mechanic help and parts at cost, and a lift if a day turns out longer than your legs wanted. The safety net is the same.
- The same meals, the same jersey, the same shared photo album and lifetime membership of the RIDERS network. Self-guided changes how you navigate and how you pace your day — nothing about the quality or the backup of the week.
So when you set off alone up the Swartberg in the cool of the morning, you are independent, not abandoned. The route is yours to follow, the pace is yours to choose — but the van is on the road, the lunch stop is coming, and tonight’s hotel is booked with your bag already on its way there. That is the deal: you carry the riding and the navigation; we carry everything else.
Who self-guided suits — and who is better off guided
Let us be plain about the match, because choosing well is what makes the week.
Self-guided suits you if you are comfortable following a GPS in unfamiliar country — if loading a route and reading a screen is something you already do at home without thinking. It suits riders who value their own pace above a group’s rhythm: who want to set off when their coffee is done, push hard on a fast track because they feel good, soft-pedal a valley because they don’t, and stop where they like for the view or the photograph or the long lunch. It suits couples and small groups of friends who would rather keep their own company — including pairs who ride at different speeds and would happily split for the day and meet at the hotel. And it suits the rider who finds a quiet satisfaction in finding their own way, in the small competence of reading the route and watching the line tick off against the land.
Guided is the better call if you would rather not navigate at all — if you want to switch off entirely and follow a wheel. It is the gentler introduction if it is your first hotel-to-hotel supported tour and you would like to learn the format with no logistics on your shoulders. And it is the reassuring choice on our most remote routes — the Highland moor, the longest Pyrenean days — where having someone read the line and the weather for you is worth a great deal, even to a strong rider. Plenty of very capable people choose guided not because they couldn’t navigate, but because they would rather spend the attention on the riding and the company.
There is no wrong answer, and the stakes are low, because both run the same routes, the same hotels and the same support. The choice is only about the character of your days. If you are genuinely torn, we walk through the whole decision honestly in guided vs self-guided gravel tours, and if you are still weighing whether a supported tour is the right way to ride at all, how to choose a supported gravel tour lays out the trade-offs.
A self-guided rider’s pre-trip checklist
If you have decided to ride self-guided, here is the short, practical list that makes the week run cleanly. None of it is onerous; most of it is one quiet evening at home.
- Load every stage onto your device from the GPX or Komoot files we send — and do it at home, not in the airport.
- Download the offline maps for every region the tour crosses (both countries on cross-border routes), over wi-fi, before you travel.
- Test one stage on a home loop to confirm the route follows, the prompts fire and the screen shows what you want.
- Keep the route on your phone too, with offline maps in Komoot or Ride with GPS, as a backup to the head unit.
- Pack a small power bank and a short charging cable in the day bag for the longest days, and charge the head unit fully each night at the hotel.
- Set your screen up the way you like it — we favour the map with the route line, distance to next turn, and elevation — so you are not fiddling with data fields on the road.
- Read the tour’s written notes for where the long days, scarce water and second-look junctions are, and plan the shape of the big days over breakfast.
Do those seven things and the navigation simply fades into the background, which is exactly where you want it: present enough to keep you on the line, quiet enough to leave you free to ride and look around.
Ride any of our tours self-guided
Here is the part that should make the decision feel easy: every tour we run can be ridden self-guided. The Alps, Tuscany, the Pyrenees, the Highlands, the Algarve, the Western Cape, Cyprus — pick the landscape you most want to ride through, and you can ride it on your own clock with the full route on your screen and the same week of support behind you.
What you get is the scouted, tested route as GPX and Komoot files for Garmin, Wahoo or Komoot, sent well before you travel so you arrive with the whole week loaded. What stays the same is everything that makes it a serviced week: the hand-picked hotels, the daily luggage transfer in the support van, the van at lunch with the free energy-drink refill, and the support vehicle on the road. You carry the navigation and the pace; we carry the logistics and the backup.
Have a look at the full range of tours and the 2026 and 2027 departures, and read how our tours work for the detail on the support model and the levels if you want to match the pace to your legs. When a route and a way of riding feel right, a €500-per-rider deposit holds your place — and from that point on, all you organise is the flights, and one quiet evening loading the routes onto your device. Come and ride it on your own clock. We’ll carry the rest.
Questions riders ask
What GPS files do I get on a self-guided gravel cycling holiday, and which devices do they work on?
You get the full route as a standard GPX file for each day's stage, plus a Komoot collection you can sync straight to your account. GPX is the universal format, so it loads onto any modern Garmin (Edge series), any Wahoo (Elemnt and Roam), and into Komoot, Ride with GPS or Strava routes. If your head unit was made in the last several years and can follow a route, it can follow ours. We send the files well before you travel so you can load them, test one at home, and arrive with the whole week already on your device.
How do I load a GPX route onto a Garmin or Wahoo for a self-guided tour?
On a Garmin Edge, the simplest path is to import each GPX into Garmin Connect on your phone or computer as a course, then sync it to the head unit; you can also drag the GPX files straight into the device's NewFiles folder over a USB cable. On a Wahoo, you add the route in the companion app — import the GPX or link your Komoot account — and it appears on the Elemnt ready to ride. Komoot users simply accept the shared collection and the days sit in the app. We include a short written guide with the files, and we are on the phone if anything won't load.
Do I need mobile signal to follow a GPS route in remote terrain?
No, and you should plan as if you will have none. A bike GPS computer follows the route from its own internal GPS satellite fix and stored maps, not from a phone signal, so it keeps navigating across the emptiest moor or mountain pass with no bars at all. The one thing to do beforehand is download the offline map region for the area onto your device — every Garmin, Wahoo and the Komoot app lets you do this over wi-fi at the hotel — so the basemap under the route line is there even when the mobile network is not. Do that the night before and the day takes care of itself.
What happens if I take a wrong turn or miss a junction on a self-guided gravel tour?
Very little, and it is a normal part of the day rather than a crisis. Your device beeps and shows an off-course warning within a few hundred metres, you stop, look at the line on the screen, and ride back to it — usually a minor detour, not a lost afternoon. The route is the same one our team has scouted and ridden, so it is logical and well chosen, and the hotel each night is fixed and waiting whichever way you reach it. If something larger goes wrong, the support van is on the road and reachable by phone, and the route file is also on your phone as a backup to your head unit.
Is a self-guided gravel holiday actually unsupported once I have the GPS route?
No — this is the common misconception worth correcting. Self-guided means you navigate and ride at your own pace, not that you ride unsupported. The support van still carries your luggage hotel-to-hotel, still meets riders most days at lunch — where you change kit and refill the PurePower energy drink free of charge, with energy bars and chews available to buy — and the same hand-picked hotels are booked and waiting. You have the route, the offline maps, the van on the road and the hotels arranged. You are independent, not alone.
Who does a self-guided gravel tour suit, and who is better off guided?
Self-guided suits riders who are comfortable following a GPS in unfamiliar country, who value their own pace and quiet over a group's rhythm, and who travel as a couple or a few friends happy in their own company. If you can load a route and read a screen at home, you can do it here. Guided is the better call if you would rather not navigate at all, if it is your first hotel-to-hotel tour, or if you are riding our most remote routes and want the line and the weather read for you. Both run the same routes, hotels and support — the choice is only how you want the day to feel.
Planning a gravel week of your own?