Gravel tyre width for a multi-day tour, surface by surface
The most instructive tyre conversation we have had on tour did not happen in a workshop. It happened at a lunch stop on a Cape week, in the shade of the van, where a rider was pulling his third thorn of the morning out of a 40 mm tyre and asking, reasonably, whether he had chosen wrong.
He had not chosen wrong, exactly. He had chosen for the bike he bought a few years earlier, when 40 mm counted as a wide gravel tyre and his frame would not take much more anyway. The ground had not changed at all. Everything else had.
The right gravel tyre width for a multi-day tour has drifted wider, because frames, rims and tyres all changed at once. Many current gravel frames take 50 mm or more, wider rims support big tyres properly, and the old trade of volume for speed largely stopped holding at touring pace. If you last chose gravel tyres several years ago, the advice you were given was right then and is probably on the narrow side now.
This is the dedicated tyre guide: width by surface, pressure across consecutive days, and tubeless setup and inserts. For the wider question of which bike, gearing and contact points suit a supported week, our guide to choosing a gravel bike and tyres for touring covers the whole machine. This one stays on rubber.
Why gravel tyres got wider
Three things changed in the same few years, which is why the shift felt sudden.
Frames grew. Many gravel frames from around 2020 stopped somewhere between 40 and 45 mm. Many adventure-oriented frames now take 50 mm or more, and some 2027 race frames accept tyres around 57 mm, the width of a mountain-bike tyre. Clearance stopped being the constraint it was.
Rims got wider. Internal widths on gravel rims have moved from around 19–21 mm towards 23–25 mm and beyond. A wider rim supports a big tyre’s casing better, so it holds its shape at lower pressure instead of squirming. Much of the old “wide tyres feel vague” complaint was a rim problem, not a tyre problem.
The tyres got better. Suppler casings and better compounds narrowed the rolling-resistance gap. On anything other than smooth tarmac, a well-chosen wide tyre at a sensible pressure is rarely slower, and over broken ground it is often faster.
That last point is the one worth internalising. On a loose or corrugated surface, a narrow tyre run hard does not glide over the bumps; it gets deflected upward by them, and every deflection costs speed and costs your body something. A wider tyre at lower pressure lets the surface pass underneath. That is why the gap between “comfortable” and “fast” is much narrower on gravel than riders coming from the road expect.
None of this means wider is always better. For a mixed European week on firm surfaces, 42–45 mm remains the sweet spot. The case for going wider is route-specific, and it starts with the surface.
Gravel tyre width by surface: the four cases
Most weeks contain at least two of these.
Firm hardpack: 42–45 mm
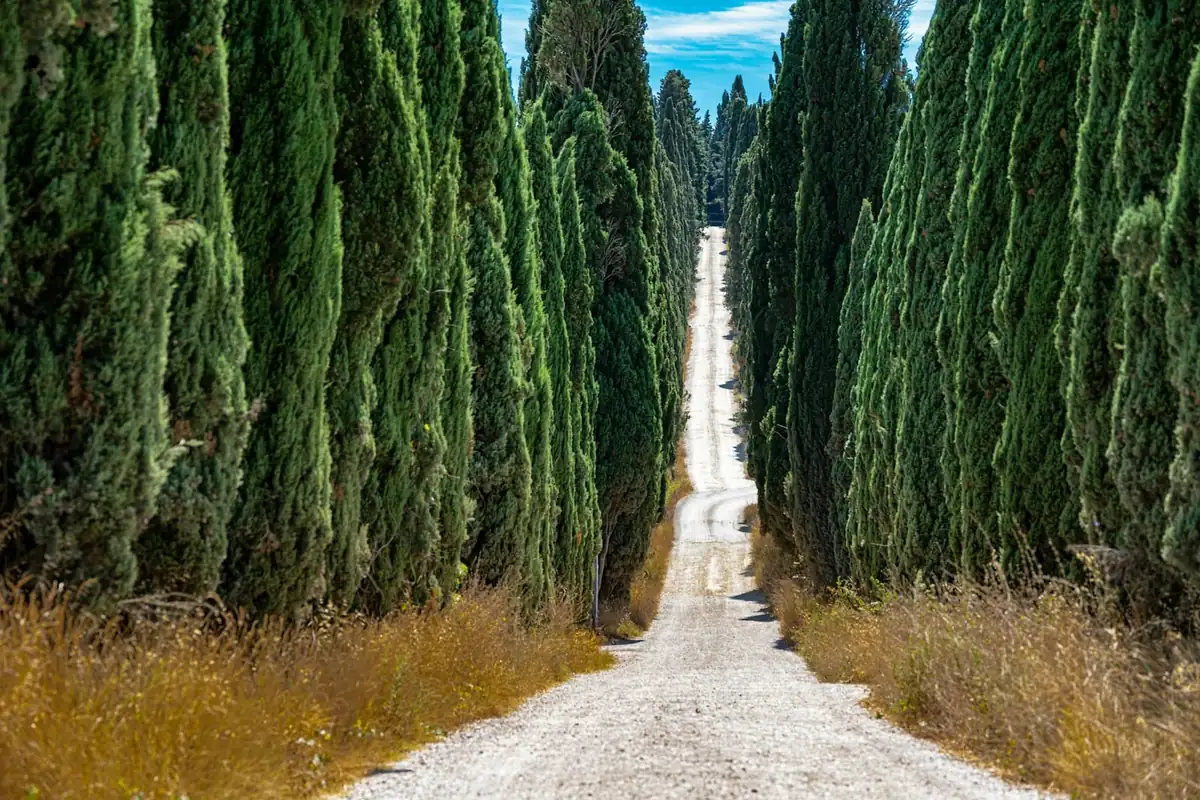
The compacted white roads of Tuscany in dry weather, the graded forest roads of the Alps, dry Algarve track. Firm, predictable, well drained. Here a 50 mm tyre buys comfort you may not need and a little weight you will notice on the climbs.
A 42–45 mm tyre with a file or light tread is the right answer, and has been for years. This is the case where the advice has moved least.
Loose and rocky: 47–50 mm
The rocky limestone tracks of the Troodos in Cyprus, stony alpine descents, loose Pyrenean gravel, the corrugated Rooiberg Pass in South Africa. The surface moves under you and hits you from below.
This is where extra volume earns its keep twice: grip, because a bigger contact patch at lower pressure settles into loose stone instead of skating across it, and protection, because the extra air is what stops a sharp edge reaching the rim. Riders who pinch-flat or dent rims on rocky descents are usually running a tyre that is too narrow, too soft for its size, or both.
Wet and muddy: 47–50 mm, and think about tread
Highland estate track after rain, boggy moorland, wet limestone. Width still helps, but this is the one case where tread pattern stops being a detail.
A file tread that is perfect in dry Tuscany packs with wet mud and then behaves like a slick. For a wet week, fit a medium tread with reasonably open shoulder blocks: enough to clear, and enough to give you an edge to lean on when the track cambers away.
Mixed road and gravel: 42–45 mm, and stop optimising
Some of our routes link their gravel with cycle paths and quiet roads. The Trans Alp mixes forest road and gravel with valley cycle paths and quiet asphalt. On a route like that you are choosing a compromise whether you admit it or not.
A 42–45 mm tyre with a file-to-medium tread is the honest compromise. It is wrong nowhere.
Pressure matters more than width
If you take one thing from this article, take this: a 50 mm tyre at the wrong pressure is worse than a 42 mm tyre at the right one. Width gives you the option of a good pressure. Pressure is what delivers the grip and the comfort.
The most common setup error we see on tour is a rider with excellent wide tyres running them near road pressure because it feels “efficient”. On gravel it is skittish and harsh, and the harshness accumulates into real fatigue by day four.
Starting points, then adjust
These are rough starting points for tubeless tyres, based on total system weight: rider, bike, kit and full bottles.
For a 45 mm tyre at around 85 kg system weight: roughly 2.0 bar (29 psi) front, 2.2 bar (32 psi) rear.
From there, as rules of thumb rather than formulas:
- Weight: go a little lower if you are lighter, a little higher if you are heavier.
- Width: a 50 mm tyre wants less pressure than a 45 at the same weight; a 42 wants more.
- Surface: drop 0.2–0.3 bar for a loose, rocky or wet day; add it back for a day with a lot of tarmac.
- Rear higher than front, by around 0.2 bar. More of your weight sits over the rear wheel, and the front is where you want the grip.
Cross-check with one of the pressure calculators tyre and wheel makers publish, then test on your own gravel. The tyre is close to right when it feels planted and slightly cushioned on rough ground but does not squirm when you stand up and accelerate out of a corner. If you feel the rim on rocks, add 0.2 bar. If the bike skitters across loose stone instead of settling into it, take some out.
Managing pressure across consecutive days
A single ride forgives a pressure that is slightly off. Six days in a row do not, and on tour the number moves for reasons that have nothing to do with punctures.
- Overnight loss. Tubeless tyres seep a little through the casing and the sealant. After a night in a hotel garage, expect to top up.
- Temperature. Pressure rises as the air inside warms. A tyre set at 2.0 bar in a 15 °C garage reads roughly 2.15 bar after an hour in 30 °C sun. On a hot South African or Tuscan afternoon, a tyre that felt right at breakfast can feel firm by lunch.
- Altitude. Your gauge measures pressure relative to the air around it, and that air thins as you climb. A tyre reads around 0.2 bar higher at 2,000 metres than at sea level. That matters on the Explorer route over the Stelvio Pass on the Trans Alp, and in the Troodos, where the Cyprus route climbs above 1,800 metres. Before a long descent from a high pass, a quick check is worth the thirty seconds.
- The day’s surface. Our stage briefings each evening cover the next day’s route, so you know whether you are facing loose gravel or a road-heavy finish. On South Africa Gravel, the Swartberg Pass stage is around 84% gravel, while the final stage ends on tarmac. Set the pressure for the day you are about to ride, not the day you just rode.
A simple routine works: check both tyres with a gauge every morning, adjust for the day’s surface, and note the numbers. By day three you will know how much your tyres lose overnight, and a slow leak shows up as a number that falls faster than the other wheel’s.
Tubeless setup for a touring week
Tubeless is not optional on our routes. It is what allows the lower pressures above, and it seals the small thorn punctures that would otherwise stop you. Almost all of the work happens before you fly.
- Fit fresh tyres a few hundred kilometres before you travel. Not the night before. You want the tyre seated, sealed and proven at home rather than in the Karoo.
- Refresh the sealant. It dries out over months, faster in heat. Arriving with old tyres and whatever sealant is left in them is the most common self-inflicted problem we see.
- Inspect and replace. A tyre with a flattened crown or cuts in the tread has done its work. It will find every thorn on the Cape farm roads.
- Carry a plug kit and know how to use it. A plug fixes a hole too big for sealant in a minute or two. Practise once at home so the first attempt is not on a roadside.
- Carry one spare tube, for the day a sidewall tears and no sealant or plug will hold.
- Get the pressure right. Too hard and the tyre skates and cannot wrap around the edge trying to cut it; too soft and the rim hits stone. Both cause flats.
Tyre inserts: when they are worth it
Inserts came to gravel from mountain biking: a foam or similar liner that sits inside a tubeless tyre against the rim. Several tyre makers now sell gravel-specific inserts sized for 40–50 mm tyres, typically weighing somewhere between about 40 and 120 grams per wheel depending on the design.
What they do well:
- Protect the rim from a sharp edge on a rocky descent.
- Let you run slightly lower pressure with less risk of the rim meeting stone.
- Get you to safety on a tyre that has lost its air. Most are designed so you can ride carefully on a flat tyre rather than on the rim, which can be the difference between a slow ride to the lunch stop and a long wait.
What they cost:
- Weight, at the rim, where you feel it most on long climbs.
- A harder roadside repair. Fitting a tube with an insert in place is awkward, and some inserts make the tyre harder to seat. A plug usually still works.
- Setup time. Fit them at home and practise removing them with cold hands.
Our view: worth considering on the roughest, rockiest routes (Cyprus, the Pyrenees, South Africa) if you have practised with them. Not worth it as a default on firm routes like Tuscany or the Algarve.
Width by route
Applying all of the above to the seven weeks we run:
| Route | Suggested width | Why |
|---|---|---|
| Tuscany Gravel | 42–45 mm | Firm, fast strade bianche, sticky after rain. Watch for summer thorns. |
| Trans Algarve Gravel | 42–45 mm | Dry, dusty trails through cork-oak hills; loose in places, rarely brutal. |
| Trans Alp Gravel | 42–47 mm | Mostly good surfaces, cycle-path links, 8,000–9,200 m of climbing. |
| Trans Cyprus Gravel | 45–50 mm | Rocky limestone tracks punish narrow tyres. |
| Trans Pyrenees Gravel | 45–50 mm | Eight stages, 780 km, loose gravel and high passes. Comfort compounds. |
| Highlands Scotland Gravel | 45–50 mm, medium tread | Wet, rough estate tracks. The route where tread pattern matters. |
| South Africa Gravel | 47–50 mm | Thorny farm roads, sharp stone and corrugated passes over 480–660 km. Volume is protection. |
Across every one of these, our floor is 38 mm, and wider is better. If your frame will not clear more than 40 mm, you can still ride any of these routes, but be more careful with pressure and more diligent about sealant than someone on 48 mm.
Measure your clearance, do not trust the number
Before you buy anything, find out what your frame actually takes. Published clearance figures vary in how they are measured, and some assume a particular rim.
Fit the widest tyre you own, inflate it to riding pressure, and look at three places: the chainstays just behind the bottom bracket, the fork crown, and the seat tube in front of the rear wheel. You want roughly a finger’s width, about 6 mm, of space all round. That margin is where mud goes on a wet Highland day, and it is what stops a small wheel buckle from locking the bike up.
Two things people miss:
- Marked size is not fitted size. The same tyre measures wider on a wide rim and narrower on a narrow one, typically by a millimetre or two. If you are close to your limit, the rim decides whether you fit.
- New tyres can grow slightly over their first rides as the casing settles. Leave room for it.
What a supported week changes about tyre choice
Because the van carries your luggage between hotels and meets the group most days at lunch, you ride a light bike with a day’s food and layers on it, not a loaded one. So you can size for comfort and grip over consecutive days, rather than for the load-carrying and puncture margins a self-supported bikepacker needs.
You are also not carrying redundancy. The van has spare parts at cost, a spare bike and a clothing bag, and the crew help with repairs. The argument for a heavy, armoured touring tyre largely disappears. Fit a supple, appropriately wide tubeless tyre, carry a plug kit, and let the support handle the rest.
If the format is new to you, how it works explains what the van does and what you carry, and our preparation guide covers the fortnight before you fly.
The short version
- 38 mm is our floor, and wider is better.
- 42–45 mm for firm, dry or mixed weeks: Tuscany, the Algarve, most of the Alps.
- 45–50 mm for rough, wet or thorny weeks: Cyprus, Scotland, the Pyrenees, South Africa, if your frame clears it with room to spare.
- Tubeless, always, with fresh tyres, fresh sealant and a plug kit.
- Pressure is the lever. Start around 2.0/2.2 bar for a 45 mm tyre at 85 kg system weight, adjust, and check every morning.
- Inserts on the rockiest routes, only if you have practised with them.
- Measure your own clearance and leave a finger’s width.
Not sure what your frame will take?
Send us a photo of your bike with its current tyres fitted, tell us the frame and the wheels, and tell us which week you are looking at. We will tell you what will fit, what we would run on that route, and roughly where to start on pressure for your weight.
It is a five-minute conversation that saves riders a difficult third day. The thorns on the Cape farm roads and the wet estate tracks of the Scottish Highlands are not negotiable, but your tyres are, right up until the morning you fly.
Questions riders ask
What is the best gravel tyre width for a multi-day tour?
It depends on the surface more than the distance. For firm, dry hardpack and a mixed European week, 42–45 mm is the sweet spot. For loose, rocky, corrugated or wet routes, 47–50 mm is worth fitting if your frame clears it with room to spare. Our minimum on every tour is 38 mm, and wider is better. Over consecutive days, a wider tyre at a sensible pressure costs you less energy and less comfort on broken ground than a narrow tyre run hard.
What tyre pressure should I run on a gravel tour?
As a rough starting point for a tubeless 45 mm tyre and a total system weight (rider, bike, kit) of around 85 kg, try about 2.0 bar (29 psi) front and 2.2 bar (32 psi) rear, then adjust: a little lower for lighter riders, wider tyres and loose or wet ground, a little higher for heavier riders, narrower tyres and tarmac-heavy days. Cross-check with a tyre maker's pressure calculator, then test on gravel at home. The most common mistake we see on tour is road pressures in gravel tyres.
Why does my tyre pressure change from day to day on tour?
Three reasons. Tubeless tyres lose a little air overnight. Temperature moves the reading: a tyre set in a 15 °C hotel garage reads roughly 0.15 bar higher in 30 °C sun. And altitude moves it too: the same tyre reads around 0.2 bar higher at 2,000 metres than at sea level, because the air outside is thinner. Set pressure each morning, for that day's surface, and check again before a long descent if you have climbed a long way.
How do I know how wide a tyre my frame will actually take?
Measure it with the wheel you will use. Fit the widest tyre you own, inflate it, and look at the chainstays, the fork crown and the seat tube. You want roughly a finger's width, around 6 mm, of space all round, because mud, a small wheel buckle or a stone in the tread all need somewhere to go. A tyre's marked size is not its fitted size: it can measure a millimetre or two either side of the label depending on rim width.
Should I run tubeless on a gravel holiday?
Yes. Tubeless lets you run the lower pressures that make a wide tyre worth fitting, and it seals the small thorn punctures that would otherwise stop you. Thorns are common on the Cape farm roads and in dry Tuscan summers. Set it up at home at least a week before you travel, refresh the sealant, and still carry a plug kit and a spare tube.
Are tyre inserts worth it for a gravel tour?
On the roughest routes, they can be. A gravel insert protects the rim from sharp edges, lets you run slightly lower pressure with less risk, and most let you ride carefully to safety on a tyre that has lost its air. The costs are extra weight and a harder roadside repair. Fit them at home, practise taking a tyre off and on with the insert in place, and only bring them if you would be happy doing that at the side of a track.
How many spare tyres or tubes should I bring on a supported tour?
One spare tube, a plug kit and a small bottle of sealant. You do not need a spare tyre: the support van carries spare parts, sold at cost, and a spare bike. What the van cannot fix is a tyre that was already worn out when it arrived, so fit fresh rubber a few hundred kilometres before you travel.
Planning a gravel week of your own?