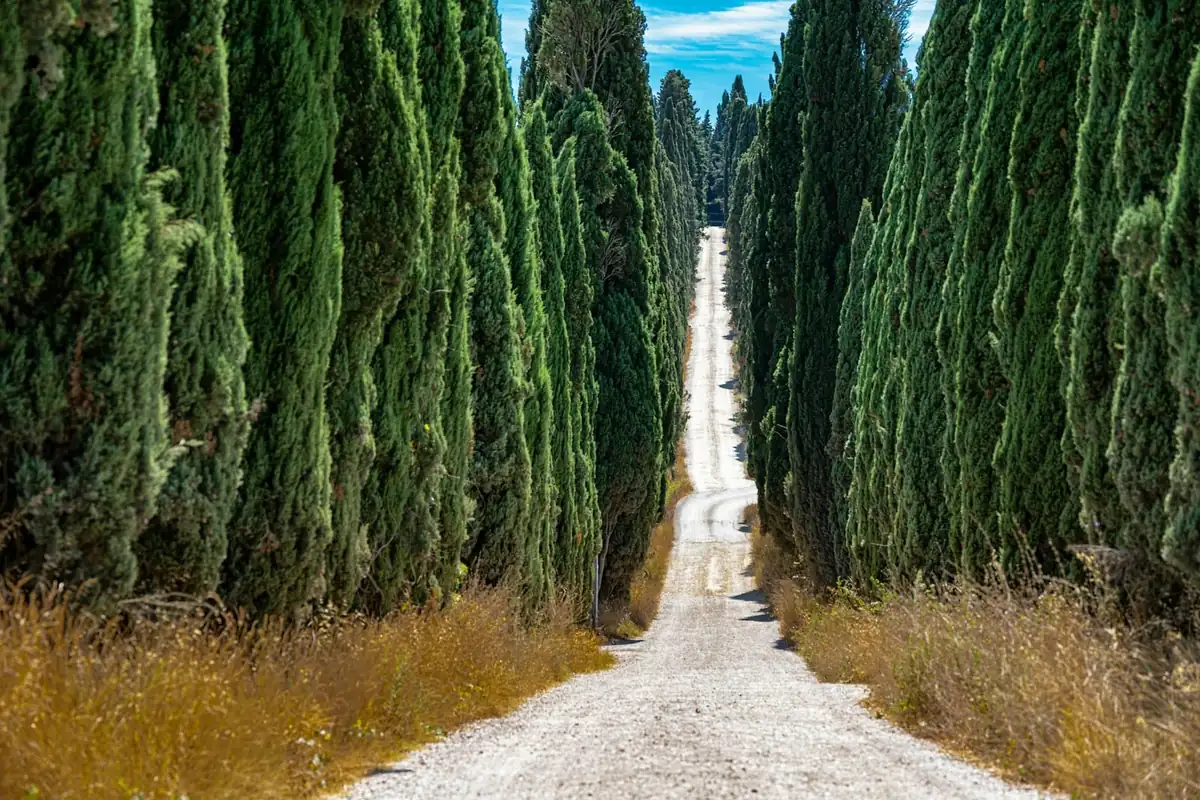
What Gravel Bike and Tyres for a Multi-Day Tour
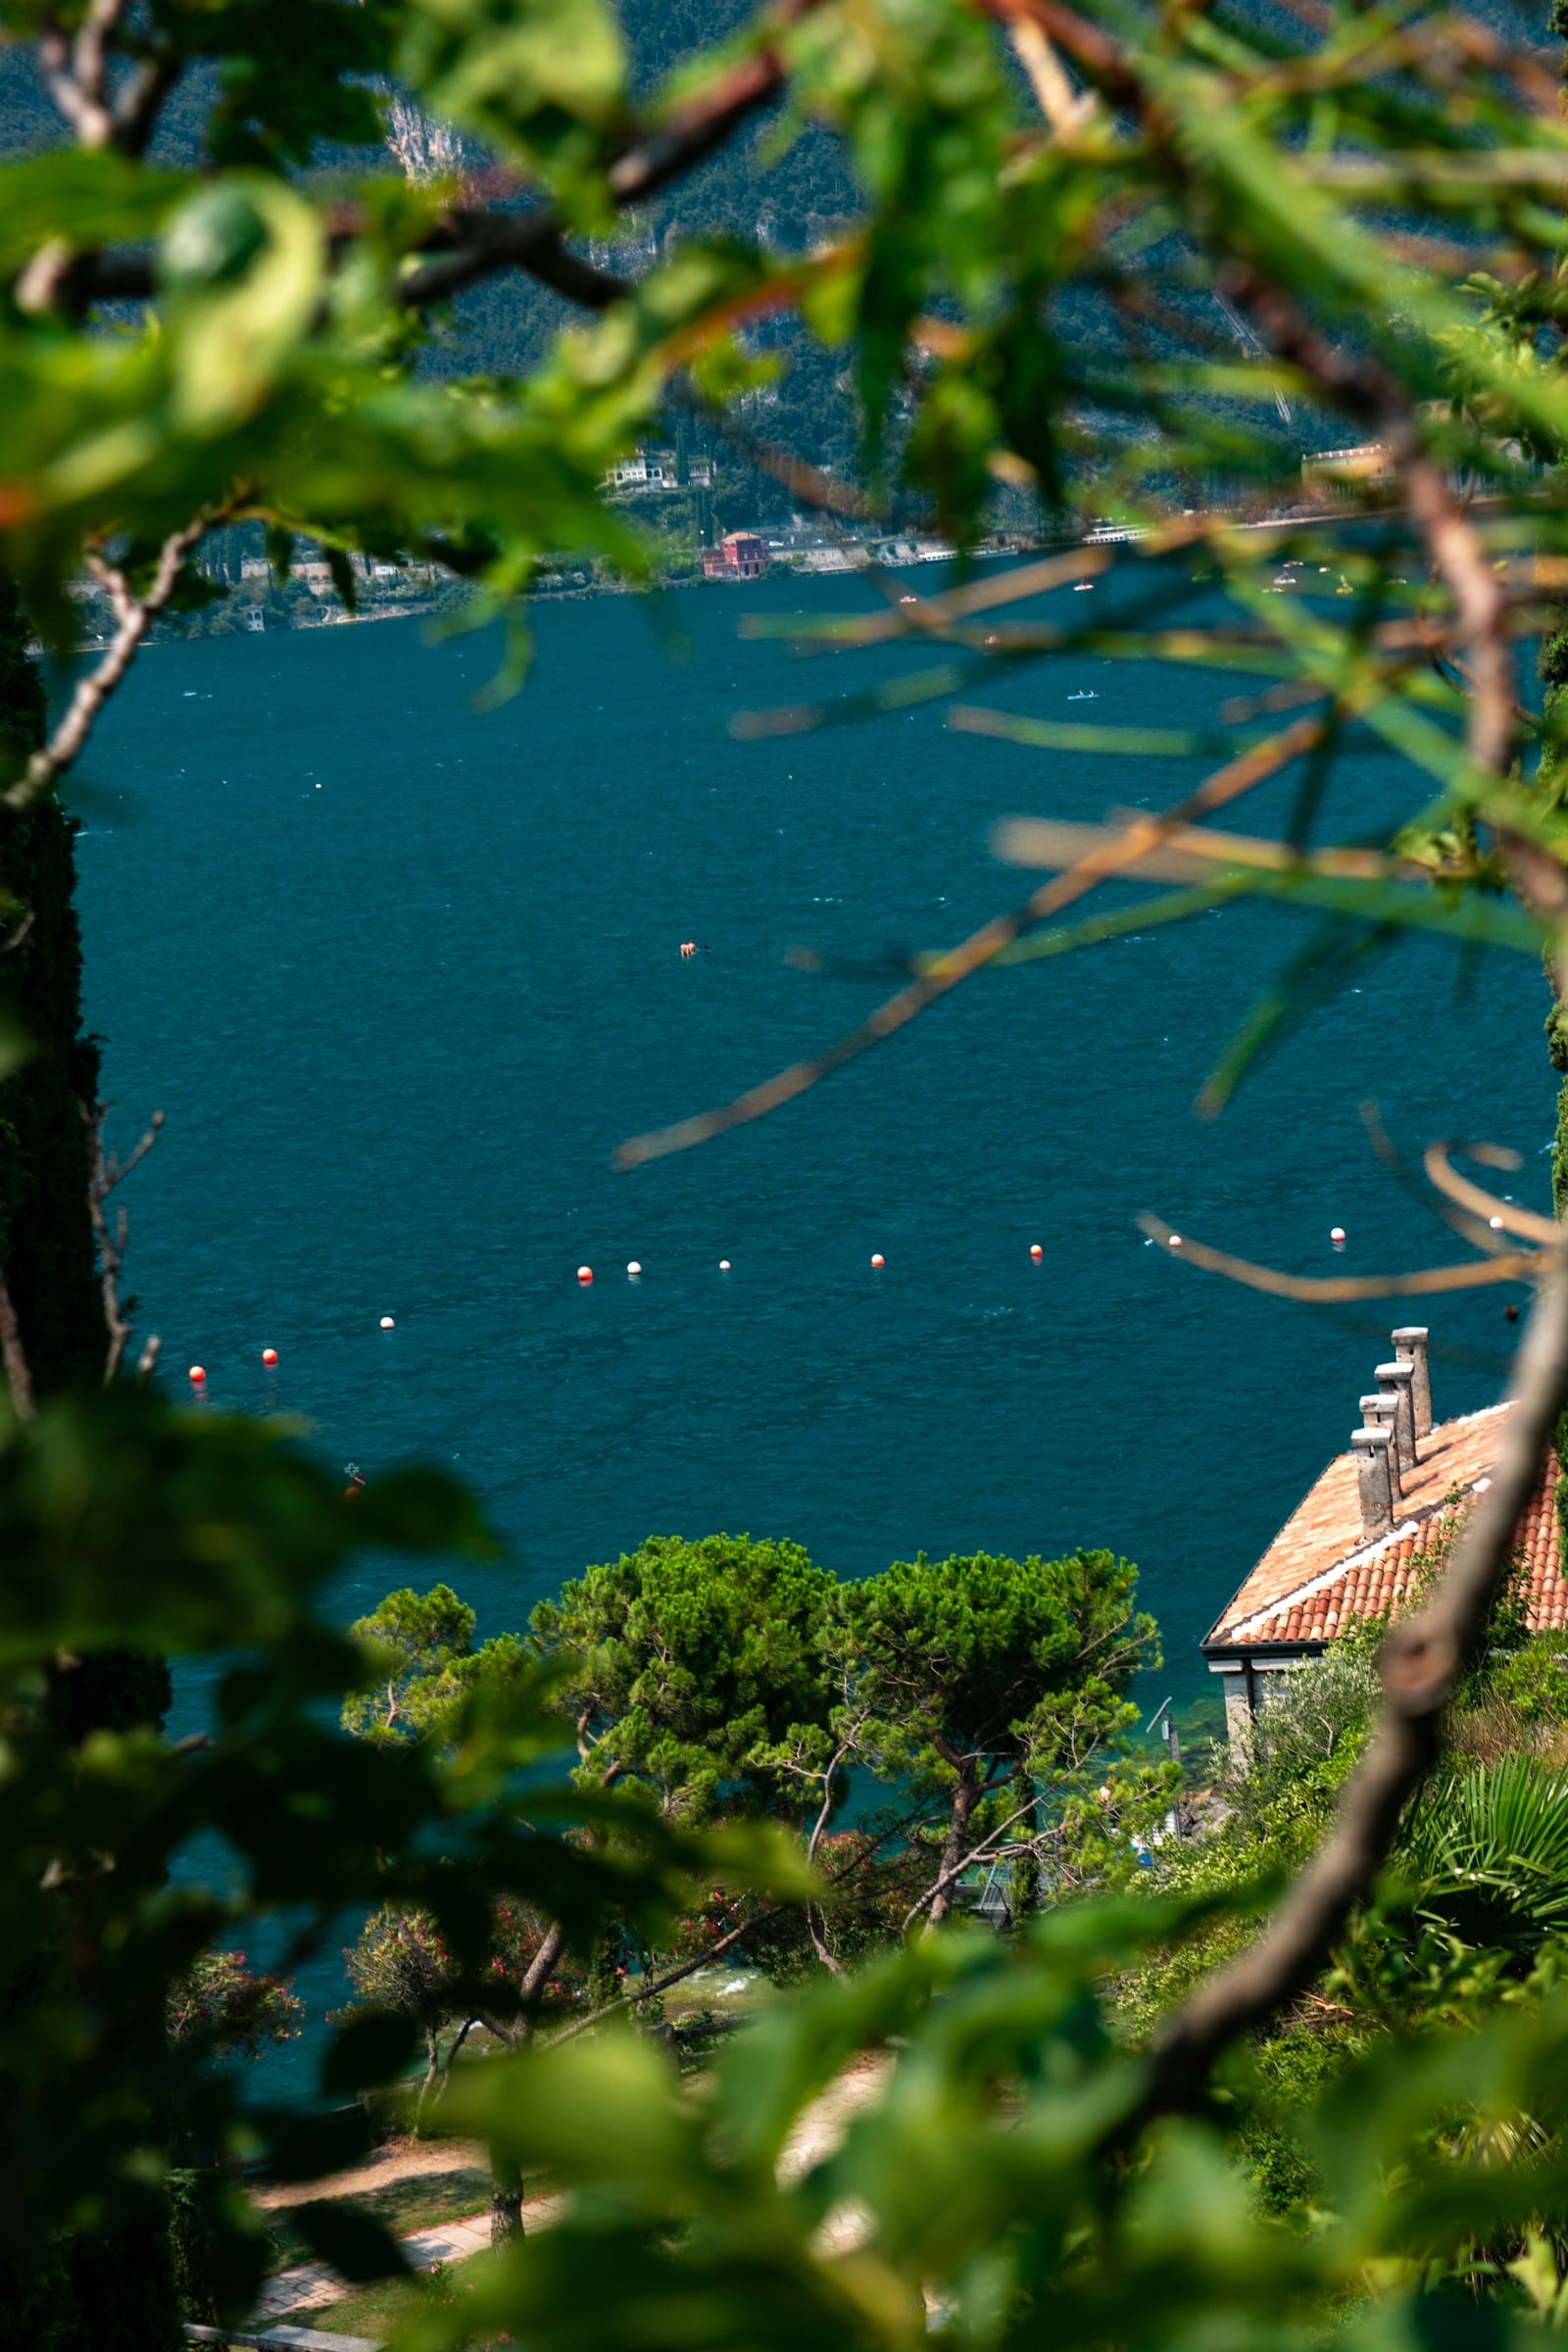
The bike that carried the rider in the photo down to Lake Garda — through the Sarca gorge, off the last of the alpine military roads, onto the warm tarmac by the water — was, to look at it, completely unremarkable. A few seasons old. Mechanical groupset. Mid-range alloy wheels with a small dent in the rear rim from somewhere on the Reschenpass descent. What made it the right bike for an eight-day crossing of the Alps had nothing to do with what it cost or what the frame was made of, and everything to do with four boring things being right: the tyres, the gearing, the contact points, and the fact that it had been ridden enough to be trusted.
That is the whole argument of this guide, so we’ll say it plainly up front. The best gravel bike for touring is a reliable, comfortable, well-geared bike you already know — not an exotic one. Across our routes we watch hundreds of riders complete week-long crossings on every kind of machine, and the bikes that finish strong are almost never the most expensive or the most fashionable. They’re the ones set up by someone who understood that a supported multi-day tour asks different questions of a bike than a Saturday race does. This is the long version of those questions, written for riders who already know what a chamois and a 40 mm tyre and 2,000 metres of climbing are, and who want to get the setup right before a precious week away.
One thing shapes every recommendation here, and it’s worth stating before anything else.
A supported tour changes what matters
On most gravel adventures, your bike is your lifeline. A mechanical fifty kilometres from anywhere is your problem to solve, so you choose and carry kit for self-sufficiency above almost everything. A supported tour inverts that. On every Gravel Adventure week the support van follows the route, carries a full tool kit, spare parts at cost, and — this is the part people forget — a spare bike. The crew are mechanics. If your rear derailleur hanger snaps on day three, you are not walking; you are riding the spare while a guide sorts yours that evening.
What this means for your decisions is liberating. Reliability still matters, but it matters less than it does at home, because the consequences of a problem are smaller. You don’t need to choose your bike around the worst-case scenario in the most remote spot. You can choose it around the thing that actually determines whether you enjoy the week: how it feels under you on the sixth consecutive day. So the priorities reorder. Comfort, fit and gearing move to the top. Bombproof-against-all-odds redundancy moves down. Spend your attention where it changes your week — and stop overthinking the rest, which is a theme we’ll return to at the end.
The van meets the group most days at lunch, too, so you can change kit, refill your energy drink free of charge, and — if something’s started clicking or rubbing — flag it to the crew before it becomes a real problem. You’re never more than a stage from a mechanic. Ride accordingly.
The bike: frame and type
Let’s deal with the question that gets the most agonising and deserves the least: what frame.
Almost any modern gravel bike is the right gravel bike. Carbon, titanium, steel, alloy — across our tours we see all four cross the same finish line in the same shape. The frame material is a preference, not a performance decision, for the kind of riding we do. Carbon is light and can be tuned for compliance; titanium and steel have a forgiving ride and age gracefully; good alloy is stiff, cheap and entirely capable. None of the white roads of Chianti, the high forestry roads above the Stelvio, or the estate tracks of the Cairngorms will reward you for the badge on your down tube. They reward fit, tyres and gearing.
What does matter at the frame level is clearance and mounts:
- Tyre clearance for at least 42 mm, ideally 45 mm. This is the single most useful frame spec for touring. It’s the difference between running the volume you actually want and being stuck with a harsher, twitchier setup because that’s all that fits with mud room. If you’re buying for touring, prioritise clearance over almost everything else.
- Two bottle mounts, minimum. On long, hot stages — the Crete Senesi in September, the Karoo, a still day in the Algarve — one bottle isn’t enough between van stops. Most gravel frames have at least two; check yours does.
- A few accessory mounts (top tube, fork legs) are a bonus rather than a requirement on a supported tour, since you’re not carrying days of food and shelter. A small top-tube bag for snacks and a phone is plenty.
What’s not suitable: road bikes (clearance, gearing and tyre volume all wrong) and flat-bar hybrids (gearing and geometry). A light hardtail mountain bike with faster-rolling tyres and a sensible gear range works perfectly well on the rougher routes — Scotland and the Alps especially — and some riders are simply more confident on one. Drop-bar gravel is more efficient over a week with a lot of tarmac and firm gravel linking the off-road, which describes most of our routes, but the MTB rider is not at a disadvantage worth worrying about.
If you ride a gravel bike already, the headline is simple: the bike you’ve owned for a year and know intimately beats a new one you’ve had a fortnight. The contact points are dialled, the gearing is familiar, the niggles are known. A new bike bought specially for the trip is the setup most likely to surprise you on day two with a saddle that isn’t quite right or a position you haven’t lived in for long enough.
Tyres: the decision that actually changes your week
If the frame is the part people overthink, tyres are the part they under-think — and they’re the single biggest lever you have over how the week feels. Width, tread and tubeless. Get these three right and the bike beneath you almost disappears, in the good way.
Width: 40–45 mm is the sweet spot
For a mixed-surface European tour, 40 to 45 millimetres is the range to aim for, and we’d nudge most riders towards the upper half of it. Here’s the reasoning, surface by surface, drawn from the routes we actually ride:
- Strade bianche (Tuscany). The white roads are around 60% of the Tuscany route — compacted limestone and clay, fast and firm when dry, loose and sticky after rain. A 42–45 mm tyre at a sensible pressure floats over the washboard and the loose top layer that a narrower tyre digs into and skitters on. You feel the difference most in your hands and shoulders after four hours.
- Alpine military road (Trans Alp). Roughly 55% of the alpine crossing is unpaved — high forestry roads and old military routes that are firm but stony, with long descents where bigger volume is simply more controlled and more comfortable. The other 45% is tarmac linking the gravel, which is where an enormous tyre would start to feel like a tax. 42–45 mm is the honest compromise.
- Highland estate track (Scotland). Wet, sometimes rooty, sometimes loose military road and estate track. More volume and lower pressure means grip and float where it’s soft, and a far calmer ride over the rougher original sections. This is a route where we’d lean to 45 mm without hesitation.
Below about 40 mm and you’re working harder for grip and comfort on every loose or rough section, which compounds over consecutive days. Above about 45 mm — a 2.0” semi-slick, say — and the weight and rolling resistance start to drag on the long tarmac links that connect almost every route, and the bike feels slow on the firm fast gravel where you’d otherwise make easy time. The 42–45 mm band is where the most riders are happiest over a full week. Our formal minimum is 38 mm; treat that as a floor, not a target.
A word on pressure, since it’s free performance: with 42–45 mm tubeless tyres most riders run somewhere in the region of 1.8–2.6 bar (26–38 psi) depending on weight, surface and how loaded the bike is — lower for the rough and wet, a touch higher for a tarmac-heavy day. Run the lowest pressure that doesn’t let you feel the rim on impacts. Most people who complain their gravel bike is harsh are simply over-inflated.
Tread: file-to-medium, all-rounder
You don’t need an aggressive tread for our routes, and an aggressive tread will cost you on the tarmac and firm gravel that makes up a real share of every week. The pattern that suits a mixed European tour is a fast-rolling centre with defined shoulder knobs — a file-tread or light-to-medium all-rounder. It rolls quietly and quickly on the firm stuff and bites when you lean it into a loose corner or a wet descent.
- Tuscany, Algarve, Cyprus, South Africa — drier, firmer, faster: a file-tread or light all-rounder is ideal.
- Scotland and the wetter alpine days — a slightly more pronounced shoulder and a bit more bite earns its place when the track turns soft.
A genuine mud tyre is overkill for everything we run and a drag on most of it. If you own one set of gravel tyres and they’re a decent all-rounder in 42–45 mm, you almost certainly don’t need to buy anything.
Tubeless: yes, set up early
For most riders, run tubeless. Two reasons that matter on tour. First, it lets you run the lower pressures that give you grip and comfort without pinch-flatting on a square-edged rock. Second, it seals the small punctures that otherwise stop you — and these are real on our routes: Tuscany’s dry summer thorns and Scotland’s flinty estate tracks are the classic flat-makers, and tubeless shrugs off most of them before you’ve noticed.
The caveats are about preparation, not principle:
- Set it up at home, at least a week before you fly. Tubeless that’s freshly mounted and sealed has time to seat properly and for you to find any slow leaks before they’re your problem on day one.
- Top up the sealant before you travel — sealant dries out, and old sealant seals nothing.
- Carry a tube and a plug kit anyway. Tubeless handles the small stuff; a plug handles the medium stuff; a tube is your backstop for a cut too big to plug. On a supported tour the van carries all of this too, but you want to fix a flat where it happens rather than stand at the roadside waiting.
If you genuinely prefer tubes and run robust tyres with good sealant-free protection, you’ll still complete the week — plenty do. But for the comfort and the puncture resistance, tubeless is the setup we’d choose for almost everyone.
Gearing: lower than you think
This is the section to read twice, because gearing is the most common setup regret we see — riders arriving with a range that was fine for one hard day at home and finding it punishing over six consecutive ones.
The principle for multi-day touring is straightforward: you want a genuinely low bottom gear, and you don’t much care about the top. A loaded gravel bike on a long climb, on the fifth day of a week, with a thousand-plus metres of ascent still to come, is a completely different proposition from a fresh-legged effort up your local hill. You want to be able to spin — to sit and turn an easy gear at a cadence that doesn’t shred your legs — rather than grind, because what you do to your legs on day four, you pay for on day five.
Concretely, aim for a bottom gear of around 1:1 or lower. In real numbers that means something like:
- 1x: a 40T chainring with a 10–44 or 10–52 cassette gives you a 40×44 (just under 1:1) or lower. A 38 or 40T ring with a wide-range cassette is the simplest, most popular touring setup we see, and it works.
- 2x: a sub-compact 30/46 or 30/47 with an 11–34 cassette gives a 30×34 — comfortably below 1:1 — and keeps closer gaps between gears, which some riders prefer for holding a steady tempo on long days.
Either works. The 1x is simpler and lighter and there’s less to think about; the 2x gives you a lower bottom gear and finer steps for the price of a front derailleur. Neither is wrong. A bottom gear that’s too tall is wrong. If you take one thing from this guide, let it be: fit a lower bottom gear than your ego wants, especially for the Trans Alp crossing and the Tuscany queen stage through the Crete Senesi and up into Brunello country, where the climbs are long rather than steep and rewarded by spinning, not forcing.
You will not miss a tall top gear on tour. The descents are long enough that you’ll spin out and freewheel regardless, and you’d rather have the easy gear in hand on every climb than the one extra fast gear you use for ten seconds a day.
Wheels: don’t overthink them
Wheels are where a lot of money can disappear for very little touring benefit. On a supported week, here’s the honest hierarchy of what matters:
- Reliability and a true build matter most — a wheel that holds its tension and runs straight all week. A mid-range, well-built wheelset does this as well as a boutique one.
- Tubeless-ready rims with an internal width suited to a 42–45 mm tyre (roughly 23–25 mm internal is a good match) let the tyre sit in a supportive, round profile rather than lightbulbed and vague.
- Spoke count and serviceability quietly matter: a wheel with standard J-bend spokes is one any mechanic — including our crew — can fix with parts they carry, where an exotic low-spoke design might not be.
What doesn’t move the needle for our riding: deep aero sections, the lightest possible rims, the most exotic hubs. Save the money or spend it on tyres, where it changes your week. And again — the van carries a spare bike and the crew can true a wheel or replace a part at cost, so the catastrophic-wheel-failure scenario that drives a lot of wheel anxiety simply isn’t the threat here that it is on a solo expedition.
Contact points: where comfort is won or lost over a week
Power output doesn’t end your day on a tour. Discomfort does. Over six or seven consecutive days, small problems at the three contact points compound into the things that actually limit people — a sore backside, numb hands, an aching neck — far more often than fitness does. This is the cheapest, highest-return area to get right, and it’s almost entirely about using what you already know fits.
- Saddle. Ride the saddle you’ve already proven over long days. A multi-day tour is precisely the wrong time to try a new one. If yours works for five-hour rides at home, it works here.
- Bar tape and gloves. A little extra cushioning — thicker tape, or gel under the tape, and good padded gloves — pays off enormously on long gravel descents where buzz and vibration accumulate in your hands. This is a small, cheap upgrade with a big return over a week.
- Bar shape and width. A slight flare and a comfortable reach you’ve lived in beats anything aggressive. Hand comfort and control on rough descents matter more than aero on every route we run.
- Position. Whatever you do, don’t make position changes in the weeks before you travel. A “quick” saddle-height or stem tweak that feels fine on a Sunday can become a screaming knee or a stiff neck by day three. Lock in a position you’ve ridden long days on, and leave it.
The pattern across all of this: comfort over a week is won by familiarity, not by novelty. The riders who struggle with contact points are almost always the ones who changed something just before the trip.
What not to overthink
We’ve touched on this throughout, but it’s worth gathering, because anxiety about gear is its own kind of fatigue and a supported tour is the place to let most of it go.
- Frame material. Carbon vs ti vs steel vs alloy makes no difference to your week. Choose on feel and budget; stop comparing.
- Marginal weight. A few hundred grams on the bike is invisible over a week of touring. The luggage is in the van; you’re not racing.
- The latest groupset. A clean, well-adjusted mechanical drivetrain is as good as electronic on tour, and there’s no battery to charge. If yours shifts well, it’s fine.
- Worst-case redundancy. This is the big one. Because the van carries spares, parts at cost, a full tool kit and a spare bike, you do not need to build a bike around surviving alone in the remotest spot. Bring sensible roadside basics — a couple of tubes, a plug kit, a pump, a multitool — and let the support model carry the rest.
What you should overthink, if you’re going to overthink anything: tyres, gearing, and whether your bike has been freshly serviced. Those three decide your week.
A quick pre-tour checklist
Pull it together in the week or two before you fly:
- Service: fresh chain if yours is worn, fresh brake pads (bedded in before you travel, not on the first descent), cables or bled brakes as needed, wheels trued.
- Tyres: 42–45 mm all-rounder, tubeless set up and sealant topped up at least a week out; inspect for cuts and square wear and replace anything tired.
- Gearing: confirm a bottom gear around 1:1 or lower; fit a wider-range cassette or smaller chainring now if it isn’t.
- Contact points: saddle, bar tape, gloves all proven — no new parts, no position changes.
- Roadside kit: two tubes, plug kit, pump or CO2, multitool, a quick link for your chain.
If you’d like the full clothing-and-kit side of this — what to carry on the bike each day versus what goes in the van — our companion guide to what to pack for a gravel tour picks up exactly where this one ends. And if the question behind the bike is really your engine, the honest guide to training for a multi-day gravel tour is the place to start, because a well-set-up bike is half the answer and a body ready for consecutive days is the other half.
How a supported week takes the pressure off your setup
It’s worth closing on why the gear stakes are lower with us than they’d be on your own, because it genuinely changes how you should pack the bike. On every Gravel Adventure tour the week is built so that the bike is the one thing you don’t have to worry your way through.
What the support model covers:
- A support vehicle on the road every riding day, carrying a full tool kit, spare parts at cost, and a spare bike — so a mechanical is an inconvenience, not a disaster.
- Mechanic help from the crew — the guides are mechanics, and you only pay for parts you use.
- Daily luggage transfer in the van, hotel to hotel, so the bike carries you and nothing else — collect your bag at the hotel each evening.
- A lunch stop at the van most days: change kit, refill the PurePower energy drink free of charge (energy bars and chews are there to buy), and flag any niggle to the crew before it grows.
- Guided or self-guided. Guided groups run a maximum of ten riders per guide; self-guided riders get the full GPS route for Garmin, Wahoo and Komoot and ride at their own pace — same hotels, same luggage transfer, same van behind them. Our short guide to how it works lays out the day-to-day.
- Two pace options every day — Explore and Adventure — so you can calibrate the distance and climbing to your legs and the weather, which our levels page sets out in numbers.
You bring a familiar, well-geared, well-shod bike. We bring the rest of the safety net. That’s the deal, and it’s why the setup advice here is about your comfort over a week rather than your survival in the wild.
The bike in the photo finished the Trans Alp crossing on 42 mm tyres, a 40-tooth chainring and a wide cassette, with bar tape worn smooth from a season of riding — nothing exotic, everything familiar. It rolled down to Lake Garda with its rider still smiling. If you’ve a bike like that in the shed and a week you’ve been meaning to spend properly, have a look at where we ride: the strade bianche of Tuscany, the alpine military roads of the Trans Alp, the empty estate tracks of the Scottish Highlands — all tested, all supported, and all kinder to a sensibly set-up bike than to a flash one.
Questions riders ask
What is the best gravel bike for a multi-day supported tour?
The best gravel bike for touring is the one you already ride well, set up for comfort and reliability rather than speed. Practically, that means a frame with clearance for 40–45 mm tyres, mounts for two bottles, low gearing for sustained climbs (around a 1:1 ratio or lower), and contact points you've already dialled in over long days. Carbon, titanium, steel or alloy all work — none of our routes care what the frame is made of. On a supported tour the van carries spares and a spare bike, so you're choosing for your own comfort over a week, not for self-sufficiency in the middle of nowhere.
What tyre width is best for gravel touring?
For a mixed-surface European tour, 40–45 mm is the sweet spot. It's enough volume to take the edge off white gravel, alpine military road and wet estate track at sensible pressures, without the sluggishness of a 50 mm semi-slick on the inevitable tarmac links. We set a 38 mm minimum on our tours; most riders are happiest at 42–45 mm. If your frame clears 45 mm, fit it — the comfort over six or seven days is worth more than the few watts you give up.
Should I run tubeless tyres for a gravel tour?
Yes, for most riders. Tubeless lets you run lower pressures for grip and comfort, and it seals the small thorn and flint punctures that otherwise stop you — Tuscany's dry summer thorns and Scotland's flinty estate tracks are the classic culprits. Set it up at home at least a week before you travel, top up the sealant, and carry a tube and a plug kit anyway. On a supported tour the van carries spares, but you still want to deal with a flat where it happens rather than wait at the roadside.
What gearing do I need for long climbs on a gravel tour?
Low. Across an alpine crossing or the Crete Senesi queen stage you want a bottom gear around 1:1 or lower — say a 40T chainring with a 42T sprocket, or a 30/34 sub-compact double — so you can spin a loaded bike up a long climb without wrecking your legs for the next day. A tall top gear matters far less than a genuinely low bottom one. The single most common setup regret we see is gearing that was fine for a hard day at home but punishing over six consecutive ones.
Do I need a special bike, or will my existing gravel bike do?
Your existing gravel bike almost certainly does. None of our routes reward an exotic machine — they reward a familiar one that fits you, has been freshly serviced, and is geared and shod for the week. A light hardtail MTB with suitable tyres works too. Road bikes and hybrids don't. If anything, the bike you've ridden for a year beats a new one you've had a fortnight, because the contact points and the gearing are already sorted.
What should I service or check before a gravel touring holiday?
Have the bike freshly serviced in the week or two before you travel — fresh chain if yours is worn, fresh brake pads, cables or bled hydraulics, trued wheels, and tubeless sealant topped up. Check tyre condition and replace anything with cuts or square wear. Bed in new brake pads before you fly, not on the first descent. The van carries parts at cost and the crew help with repairs, but a bike that arrives in good order is a week that starts well rather than one that starts in the workshop.
Planning a gravel week of your own?